Introduction: Boutique-Worthy Monstera Care for City Apartments
Your Monstera can look like it just arrived from a boutique plant shop—even in a compact city apartment. This practical, friendly walkthrough distills the best tips you’d find in The Sill monstera care guide style into a single routine you can actually keep. We’ll cover lighting that fuels fenestrations, watering that prevents yellowing, soil and support that supercharge growth, and easy fixes for pests and brown spots.
Whether you call it Monstera deliciosa or the Swiss cheese plant, the secret is consistency. Pair bright, indirect light with a chunky mix, give it something to climb, and feed it modestly during the growing season. The result: broader leaves, deeper splits, and a statement plant worthy of your feed.
Quick Summary: Light, Water, Soil, Support, and Feeding—At a Glance
- Light: Bright, indirect light for 8–10 hours; shield from harsh midday sun.
- Water: Soak when the top 2 inches are dry; never let it sit in runoff.
- Humidity: Aim for 50–60%; bump in winter with a small humidifier.
- Soil: Chunky aroid mix—potting soil + bark + perlite/pumice + coco coir/charcoal.
- Pot: 1–2 inches wider at repot; drainage holes mandatory.
- Support: Moss or coir pole to guide aerial roots and encourage fenestrations.
- Fertilizer: 3-1-2 style ratio, light feed every 2–4 weeks in spring/summer.
- Pruning: Trim leggy growth above a node; propagate single-node cuttings.
Perfect Placement: Bright Indirect Light and Room Layout Tips
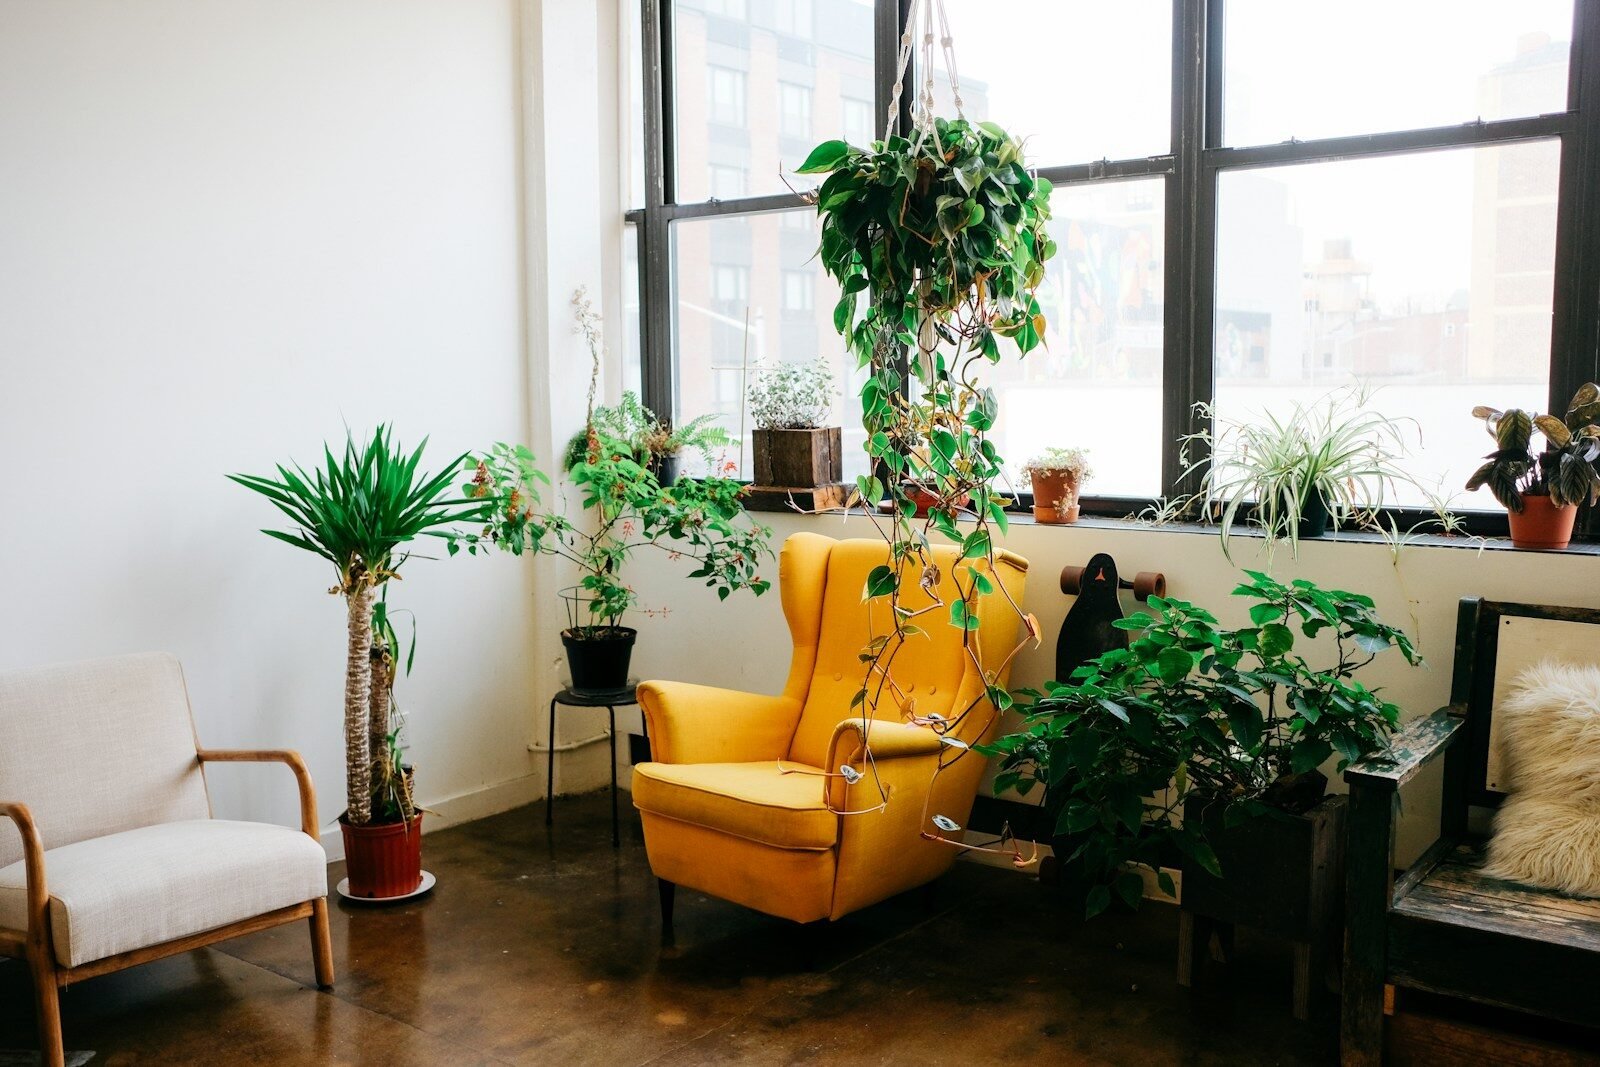
Place your Monstera 3–6 feet from a bright east or south window filtered by sheers. Think “sunlit but softened.” If your only option is a west window, diffuse the light to avoid scorched patches. North windows can work if unobstructed and close.
Use these cues: light that’s bright enough to read comfortably all day, but no hot beams lingering on leaves. For the data-inclined, target roughly 1,000–2,500 foot-candles at leaf height mid-day. Rotate the pot a quarter turn weekly so growth stays balanced.
Need more placement ideas? Browse the plant care library at Plant Doctoring. For a deeper dive on light quality, see the University of Minnesota’s overview on lighting indoor plants.
Watering and Humidity: How to Prevent Yellowing and Crisp Edges
Yellowing lower leaves usually signal overwatering; crispy brown edges often point to low humidity or mineral buildup. Water thoroughly only when the top 2 inches feel dry. Let water run through, then empty the saucer after 10–15 minutes. In heavy pots, a wooden dowel test or a calibrated moisture meter can help—just use them as guides, not gospel.
Keep humidity near 50–60%. A tray of pebbles under the pot adds mild lift; a compact humidifier is more reliable in winter. If tips keep browning, consider filtered water and flush the soil monthly to reduce salts.
Curious about tap treatment? Some cities use chloramine, which doesn’t dissipate easily. Learn more from the U.S. EPA. Many Monsteras tolerate typical tap water, but sensitive plants may prefer filtered or dechlorinated water.
Soil, Repotting, and Support: Best Mixes and Moss Poles for Fenestrations
Monsteras are aroids that love air around their roots. Build a chunky mix: about 40% high-quality potting soil, 30% orchid bark, 20% perlite or pumice, and 10% coco coir with a pinch of horticultural charcoal. This drains fast yet holds a steady, even moisture.
Repot every 12–24 months in spring when roots circle or growth slows. Size up just 1–2 inches wider to prevent waterlogging. Always choose a pot with drainage holes.
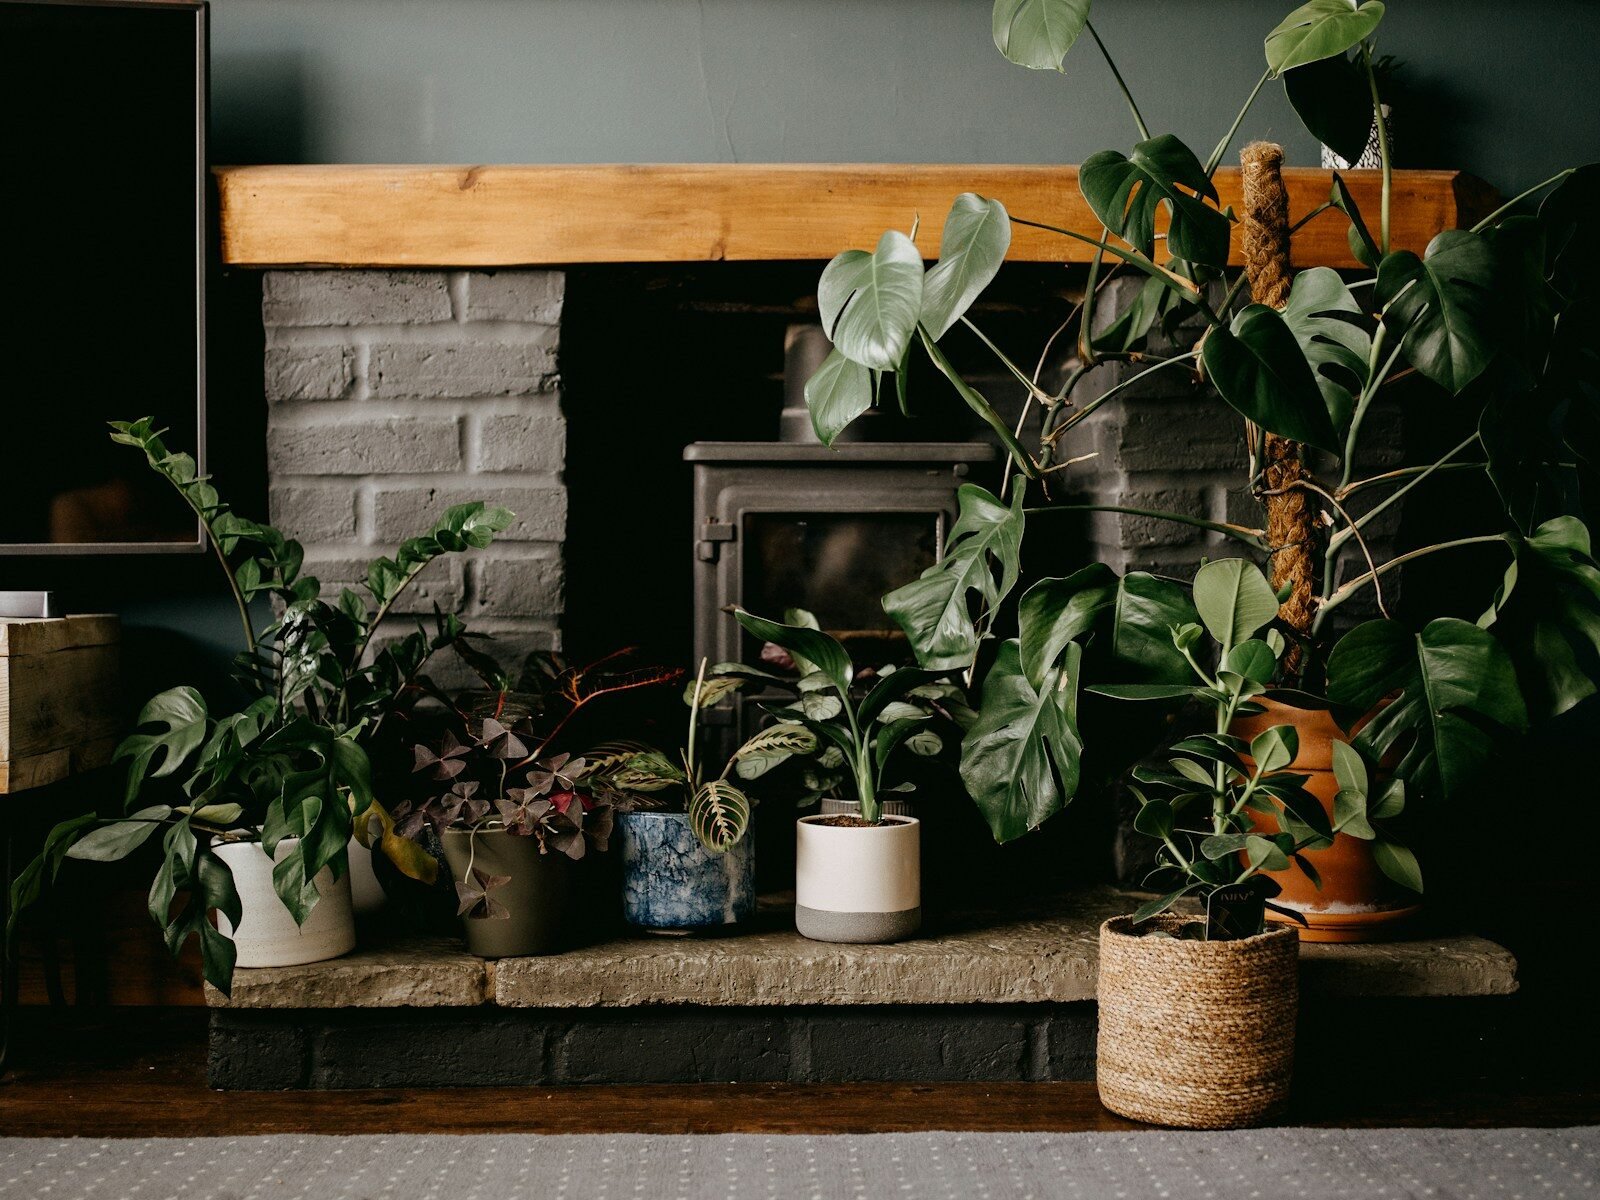
For bigger, split leaves, add vertical support. A moistened moss or coir pole invites aerial roots to latch, helping the plant climb and mature. Attach stems with soft ties in a gentle “S” to keep nodes touching the pole. More container and substrate pointers live in the Plant Doctoring care archive.
Fertilizing for Big Leaves: Ratios, Frequency, and Seasonal Tweaks
Feed lightly but consistently during active growth. A foliage-friendly 3-1-2 style N-P-K (or similar balanced formula) supports leaf expansion without pushing weak, leggy growth. Apply at 1/4–1/2 strength every 2–4 weeks in spring and summer, taper to monthly in early fall, and pause in mid-winter if growth stalls.
Slow-release prills are fine—just reduce liquid feeds accordingly. Occasional calcium and magnesium (already present in many complete fertilizers) help sturdy leaves, but skip “miracle” cocktails. Understanding labels? See NPK ratings explained.
Watch your plant’s feedback. Pale new growth may hint at underfeeding or low light; dark, floppy leaves can indicate too much nitrogen or insufficient light.
Pruning, Training, and Propagation: Shape, Nodes, and Aerial Roots
To shape fuller plants, prune in spring. Cut just above a node (the slight bump where leaves and aerial roots emerge). This prompts branching behind your cut, filling space and controlling height. Wipe blades with alcohol before and after to avoid spreading issues.
Train stems to a coir or moss pole, guiding aerial roots toward the moist surface. As roots grip, internodes shorten and leaves broaden. Curious about aerial roots? Here’s the science behind them on Wikipedia.
For propagation, take single-node cuttings with at least one healthy aerial root nub. Let the cut end dry for an hour, then root in water, perlite, or damp sphagnum in bright, indirect light. Move to a chunky mix once roots are 2–3 inches long.
Common Problems Solved: Pests, Droop, Brown Spots, and Slow Growth
- Pests (mites, thrips, mealybugs): Look for stippling, silvery patches, or cottony clusters. Isolate, shower leaves, then treat weekly with insecticidal soap or oil for 3–4 cycles. Learn about thrips.
- Drooping leaves: Limp and soft after watering = overwater; perk up after watering = thirst. Adjust cadence and ensure drainage.
- Brown spots: Crisp patches on the sun-facing side suggest sunburn; move back or add sheers. Spreading, mushy patches can indicate rot—trim affected tissue and repot into fresh, airy mix.
- Slow growth, no splits: Usually not enough light or no vertical support. Increase light hours or intensity and add a pole; steady feeding also helps.
- Dusty leaves: Dust blocks light. Wipe gently with a damp microfiber cloth every few weeks.
For broader troubleshooting across many houseplants, scan the guides at Plant Doctoring.
Conclusion: A Simple Routine for Lush, Photo-Ready Growth
Keep it simple: bright, indirect light; water when the top inches dry; a chunky mix with good drainage; a pole for support; and light, regular feeding. Do this, and you’ll get bigger leaves, richer greens, and those coveted splits.
If you love the polished clarity of The Sill monstera care guide approach, this routine captures the same spirit—optimized for small spaces and busy schedules. Set reminders, rotate weekly, and enjoy steady, stunning growth.
FAQ: Do I need a pole? How big should the pot be? Can it live in low light? Why no splits? Is tap water okay? How often to dust leaves?
Do I need a pole? It’s optional, but a coir/moss pole helps Monsteras climb, mature faster, and produce bigger, split leaves.
How big should the pot be? Size up just 1–2 inches wider at repot. Oversized pots trap moisture and increase rot risk.
Can it live in low light? It survives but won’t thrive. Expect slower growth, fewer splits, and stretched internodes. Boost light for best results.
Why no splits yet? Typically not enough light or no vertical support. Add brighter indirect light and a pole; be patient with juvenile plants.
Is tap water okay? Often yes. If you notice persistent leaf tip burn, try filtered water and flush the soil monthly. See the EPA on chloramine.
How often should I dust leaves? Every 2–4 weeks. A damp microfiber cloth improves photosynthesis and reduces pest pressure.