Introduction: The Simple Way to Keep Pothos Perfectly Watered
If you want to buy self-watering planter for pothos and never second-guess watering again, you’re in the right place. Sub-irrigated (wicking) planters supply steady moisture from below, matching how pothos prefers to drink without leaving the roots soggy. The result is fuller vines, fewer yellow leaves, and a far more forgiving care routine.
This guide covers how to choose the best self-watering pot, the exact mix recipe, setup steps, maintenance, and fast fixes. You’ll also find expert tips that keep reservoirs clean, wicks humming, and your Epipremnum aureum growing lush with minimal effort.
Quick Summary (TL;DR): Pick a snug pot, use a wicking-friendly mix, thread the wick, pre-moisten, top-water once, then let the reservoir work
- Pick a snug pot: Choose a self-watering planter 1–2 inches wider than your current rootball.
- Use a wicking-friendly mix: Blend peat-free potting soil, perlite, and coco coir for capillary flow.
- Thread and prime the wick: Feed the wick through the pot base into the reservoir and pre-wet it.
- Pre-moisten the mix: Evenly dampen the substrate before potting to jump-start wicking.
- Top-water once: Thoroughly water from the top after repotting to seat roots and saturate the wick.
- Let the reservoir work: Refill as needed; flush monthly to prevent salt buildup.
Why Pothos Thrives in Self-Watering: Steady moisture, fewer droughts, less guesswork
Pothos is a resilient aroid that grows vigorously when the root zone stays evenly moist but well aerated. Self-watering planters deliver water from below by capillary action, preventing the feast-or-famine swings of top watering.
Unlike constant soaking, most sub-irrigated planters include an aeration gap above the water line. This keeps oxygen flowing to roots while a wick draws moisture upward. The balance reduces wilt, tip burn, and leaf drop from inconsistent care.
Bottom-up watering also keeps foliage dry, which helps limit fungal spotting. With consistent moisture and no drenched crowns, pothos allocates energy to new leaves and longer vines. The payoff is a fuller plant that tolerates busy schedules and dry indoor air.
Curious about pothos’ overall care profile? The Royal Horticultural Society outlines light, temperature, and growth traits that align perfectly with a wicking system’s slow, steady hydration.
How to Choose the Right Self-Watering Planter: Size, reservoir capacity, wick material, indicator quality, ceramic vs. plastic
Selecting the right container is the difference between thriving vines and sluggish growth. If you plan to buy self-watering planter for pothos online or in-store, match these specs to your plant’s size and your maintenance style.
- Size: Choose a diameter 1–2 inches larger than the current rootball (e.g., a 4″ nursery plant fits a 5–6″ SIP). Oversizing slows drying and can chill roots.
- Reservoir capacity: Aim for a reservoir equal to 10–20% of total pot volume. Small deskside pothos thrive on 150–300 ml, while 8–10″ floor planters benefit from 1–2 liters for multi-week intervals.
- Wick material: Look for synthetic capillary rope (nylon/acrylic). It resists rot and keeps flow stable. Natural cotton can decay and stall wicking over time.
- Indicator quality: Reliable float gauges or a clear reservoir window beat ambiguous sight tubes. Marked MIN/MAX lines reduce guesswork and prevent chronic overfilling.
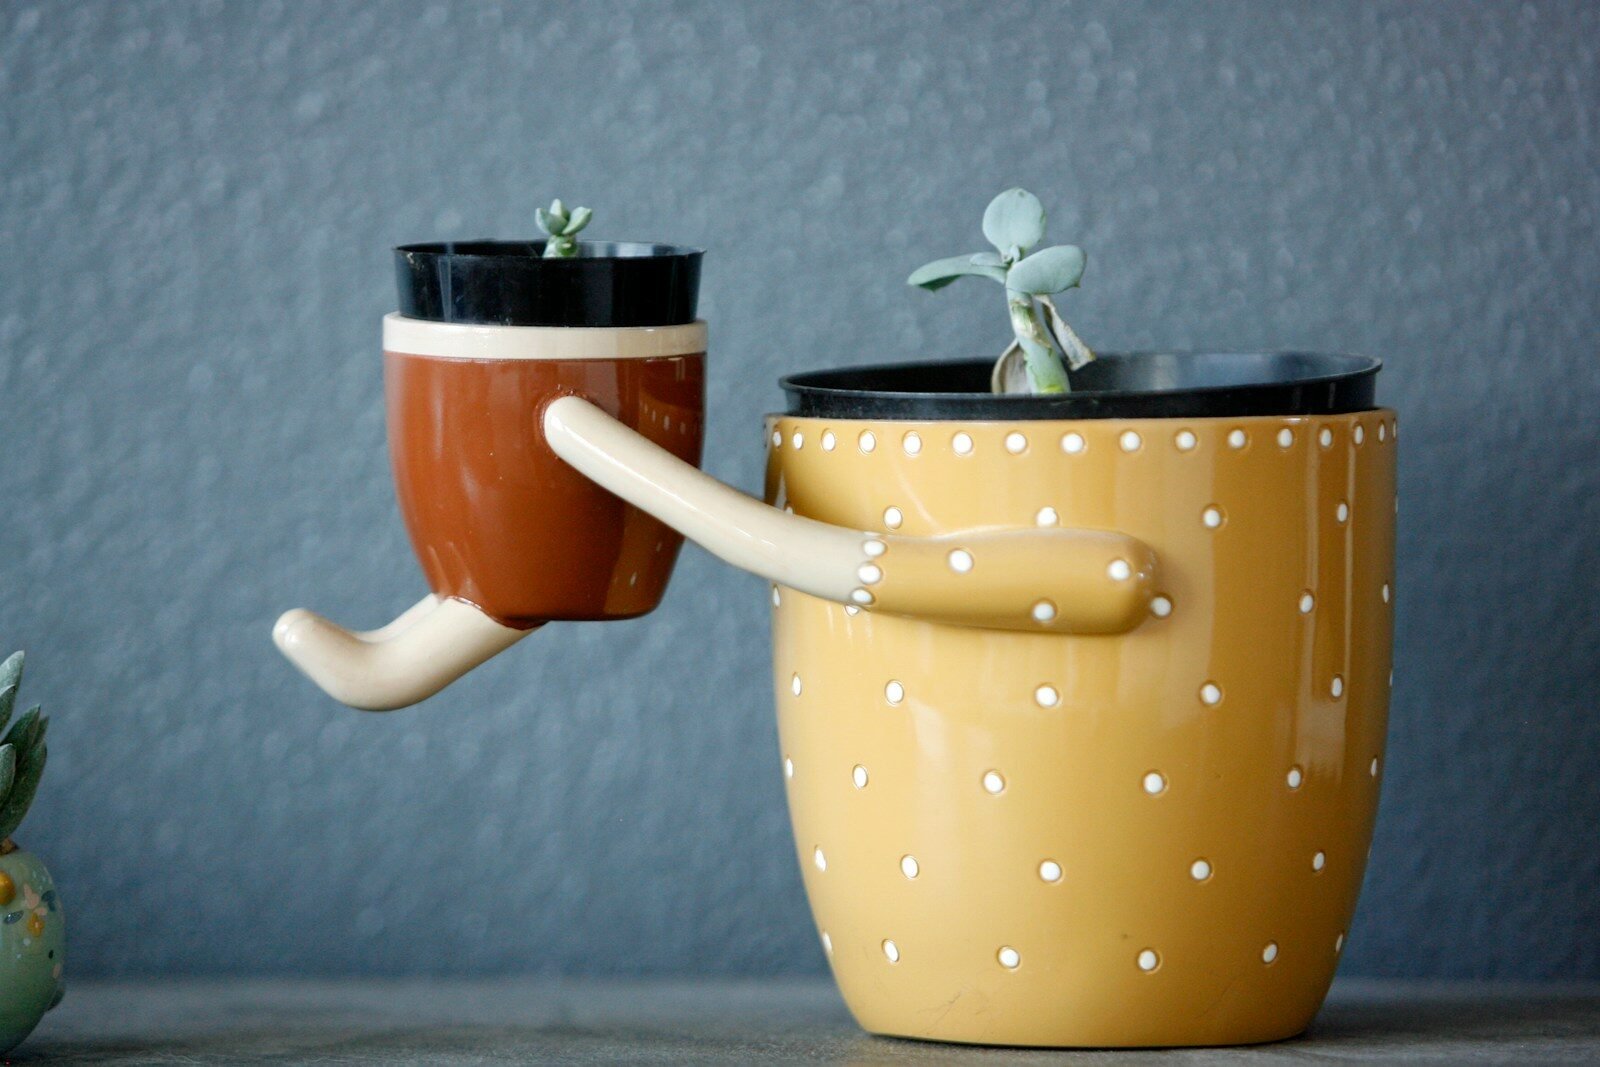
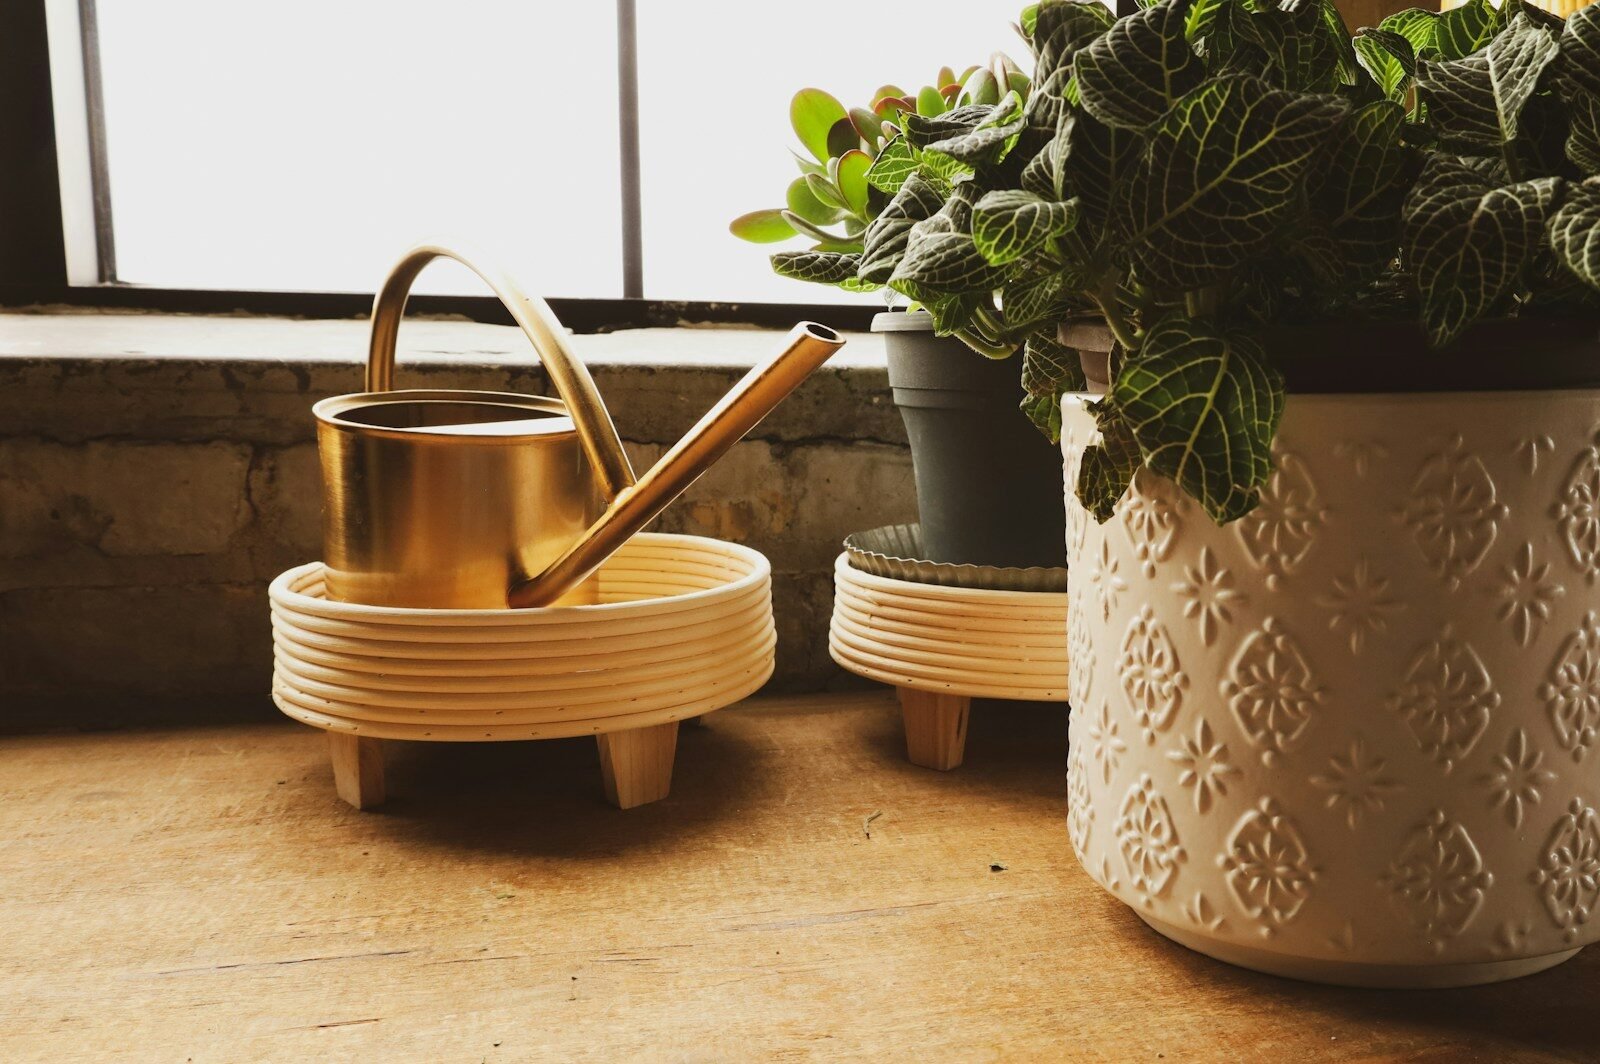
- Ceramic vs. plastic: Ceramic cachepots are elegant and weighty, buffering temperature swings; they often use an inner growing cup and external reservoir. Plastic SIPs are lighter, budget-friendly, and easier to move for flushing. Both work; choose based on aesthetics and portability.
- Aeration features: A raised platform or mesh keeps the root zone above standing water. Bonus points for side vents that encourage oxygen exchange.
- Maintenance access: A fill spout that’s easy to reach and a detachable inner pot simplify cleaning and wick replacement.
Search phrases like best self-watering pot for pothos, wicking planter for Epipremnum aureum, or sub-irrigated planter with float gauge to compare models purpose-built for trailing vines.
Step-by-Step Setup for Pothos: Mix recipe (soil, perlite, coco), threading the wick, first fill, and light placement
Dial in the substrate and wick path once, and your pothos will cruise with minimal maintenance. Follow this precise, wicking-friendly setup.
- Prepare the mix: Combine 50% peat-free potting soil, 30% perlite, and 20% coco coir. Optional: 5% horticultural charcoal for odor control. Pre-moisten until it clumps lightly but doesn’t drip.
- Assemble the planter: Insert the wick through the platform so it dangles 1–2 inches into the reservoir. Coil the upper wick in a loose S-shape on the platform so it contacts the mix broadly.
- Prime the wick: Soak it in water for 5–10 minutes. A pre-wet wick kicks off capillary flow immediately.
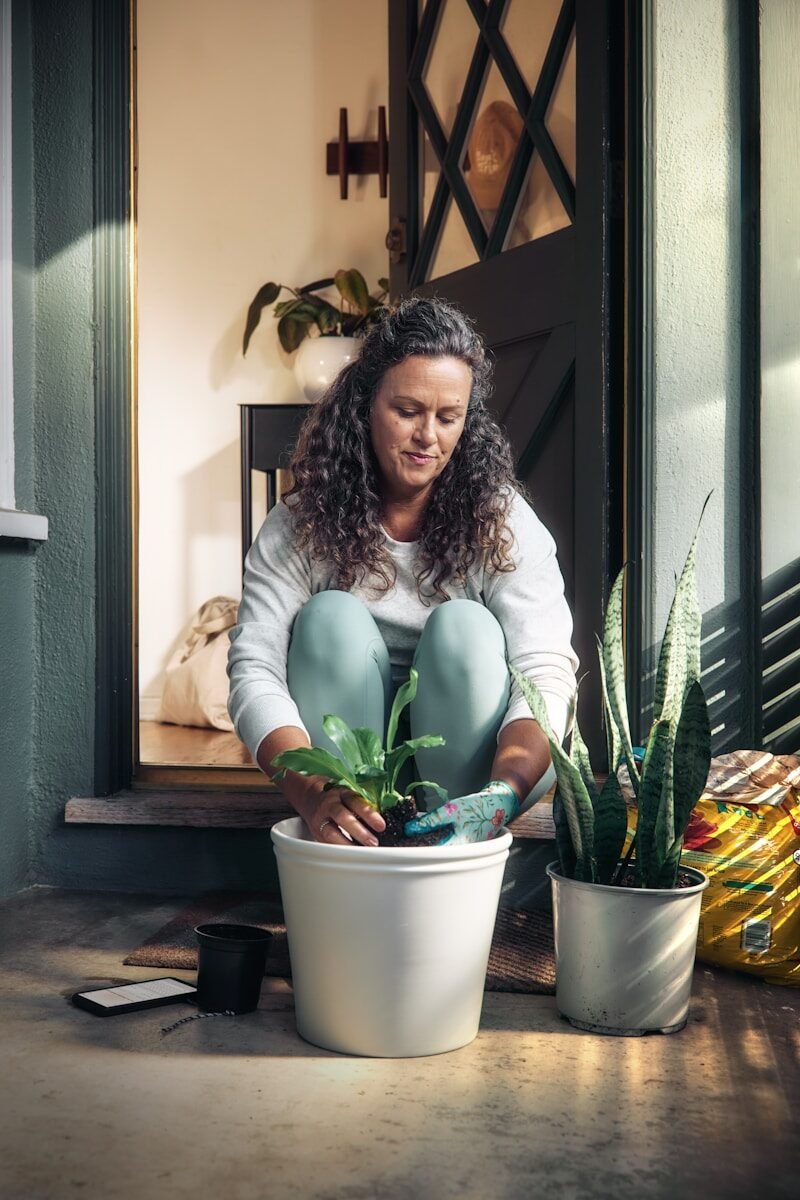
- Pot the plant: Add a base layer of mix, position the pothos, and backfill while gently firming. Keep the crown slightly above the rim for airflow.
- Top-water once: Slowly water from above until a little drains into the reservoir. This seats roots and saturates the wick pathway.
- First fill: Use the fill spout to raise the reservoir to the MAX line. Avoid submerging the platform entirely; maintain an aeration gap.
- Light placement: Set near bright, indirect light (east or bright north window; 5–8K lux). Avoid harsh south sun until acclimated to prevent leaf scorch.
Tip: If your model lacks an internal wick, create one with 100% synthetic capillary cord or nylon shoelace. Thread it through a base hole and secure under the root ball.
Watering & Fertilizing on a Wicking System: Refill cadence, flushing salts, seasonal tweaks
Self-watering planters simplify hydration, but a few habits keep your pothos flourishing while preventing mineral buildup.
- Refill cadence: Top up when the indicator nears MIN or the window shows a low line. Most indoor pothos need a refill every 1–3 weeks; large floor planters may stretch to a month in mild seasons.
- Fertilizer strategy: Feed at 1/4 to 1/2 strength with a balanced liquid (e.g., 3-1-2 ratio) directly into the reservoir every second or third refill during active growth. Skip feeding if light is low or temps drop.
- Flush monthly: Pour tepid water from the top until it runs through to the reservoir, then drain completely. This clears fertilizer salts that can desiccate roots and burn tips.
- Seasonal tweaks: In winter, longer dry times and lower uptake mean smaller refills and less fertilizer. In spring/summer, growth surges increase water demand—refill more frequently.
- Water quality: Hard water can leave deposits and promote algae. If your reservoir walls crust up, switch to filtered or let tap water stand 24 hours to dissipate chlorine.
Remember, a sub-irrigated planter (SIP) thrives on consistency. Let the top half-inch of mix feel just barely dry to the touch between refills, but don’t allow the wick to run bone-dry for extended periods.
Troubleshooting: Yellow leaves, gnats, algae in reservoir, dry crowns—fast fixes
- Yellow lower leaves: Normal aging if occasional. If many at once, you’re likely overfilling. Keep water at or just below MAX and ensure the aeration gap isn’t flooded. Check roots for rot smell.
- Droopy plant but wet reservoir: Wick not contacting the mix or not primed. Re-seat the wick higher into the root zone, pre-soak, and top-water once to reestablish flow.
- Dry crown, crisp tips: Mix too coarse or pot oversized. Add more coco coir for capillarity and move to a snugger insert if roots are swimming in soil.
- Fungus gnats: Keep the upper 1/2 inch slightly drier by using a decorative top-dress of coarse perlite or horticultural sand. Add BTi (Bacillus thuringiensis israelensis) to the reservoir per label and use yellow sticky traps.
- Algae in reservoir: Algae needs light + nutrients. Block light with an opaque sleeve, clean with a dilute 3% hydrogen peroxide rinse, and avoid over-fertilizing.
- Salt crust on soil edges: Flush from the top until runoff is clear, drain the reservoir, and reduce fertilizer concentration next cycle.
- Slow growth: Increase light to bright indirect, verify your mix isn’t compacted, and keep temps 65–75°F. Consider a fresh wick if capillary flow is weak.
Want plug-and-play routines that match your planter size and room conditions? Explore Plant Care Tips for step-by-step watering schedules, wicking-friendly substrate recipes, and troubleshooting flows tailored to sub-irrigated pots.
Use their checklists to standardize refills, monthly flushes, and seasonal adjustments. When you buy self-watering planter for pothos, pairing it with a proven routine is the fastest route to lush, low-maintenance growth.
Conclusion: Set it (almost) and forget it—pair your planter with Plant Care Tips for ongoing success
A good self-watering setup removes guesswork while giving pothos the steady moisture it prefers. Choose a right-sized pot with a reliable indicator, thread and prime a synthetic wick, and use an airy mix designed for capillary flow. Maintain with small refills, light feeding, and a monthly flush.
For consistent results after you buy self-watering planter for pothos, lean on routines and troubleshooting guides from Plant Care Tips. Combine smart hardware with smart habits, and your vines will reward you with glossy foliage and effortless growth.
FAQ: Do self-watering pots overwater? How often to flush? Can I use LECA? Which indicator style is most reliable? Do trailing pothos need staking?
Do self-watering pots overwater? Proper SIPs keep an aeration gap below the root zone, so overwatering usually happens only when the reservoir is overfilled or the mix is too fine and compacted. Use an airy, wicking-friendly substrate and respect MIN/MAX lines.
How often should I flush the system? Once every 3–4 weeks for typical indoor pothos. If you fertilize frequently or have hard water, flush every 2–3 weeks. Always drain the reservoir fully after flushing.
Can I use LECA (semi-hydro)? Yes, but treat it as a different system. LECA needs a dedicated semi-hydro pot with a taller reservoir and consistent nutrient solution (low EC). Rinse LECA thoroughly and keep roots above the water line. Transition gradually from soil to avoid shock.
Which water-level indicator is most reliable? A float gauge with clear MIN/MAX is easiest to read at a glance. Transparent windows are great too, provided they’re shaded from direct sun to prevent algae. Avoid unmarked sight tubes that make levels ambiguous.
Do trailing pothos need staking? Not required, but a moss pole or trellis encourages larger leaves and thicker vines by supporting nodes. In a self-watering setup, keep the pole base above the water line to prevent rot and wick excess moisture away from the stem.