Introduction: Why Overwatering Is the #1 Monstera Killer—and How to Rescue Yours Today
If you love your Swiss cheese plant, you’ve likely asked how to revive an overwatered Monstera at least once. The culprit is usually chronic moisture around the roots, which suffocates tissues and invites pathogens that trigger rot. Even tough Monstera deliciosa can decline fast when their pot stays waterlogged.
The good news: a calm, methodical rescue can turn things around. You’ll unpot, assess the damage, prune rot, and reset the plant in a breathable mix with proper drainage. Then you’ll fine-tune light, airflow, and watering rhythm so roots can rebuild. This guide delivers a precise, professional process to save your plant and prevent repeat mistakes.
Whether your leaves are yellowing, stems are mushy, or the soil smells sour, the steps below prioritize oxygen, sanitation, and stability—three essentials for rapid recovery.
Quick Summary (TL;DR)
- Unpot gently and shake off wet soil.
- Trim all brown, mushy roots with sterilized shears; keep only firm, white to tan tissue.
- Dust cuts with cinnamon or a targeted fungicide (optional).
- Repot into a pot with drainage using a chunky, aerated aroid mix (bark, perlite, coco coir).
- Water lightly to settle the medium; avoid soaking.
- Place in bright, indirect light with gentle airflow and moderate humidity.
- Monitor for 2–4 weeks: expect stabilization first, then new growth.
That’s the condensed version of how to revive an overwatered Monstera. The detailed plan below maximizes survival and speeds recovery.
How to Spot Overwatering vs. Underwatering in Monstera
Correct diagnosis saves time and roots. Compare these signals to separate too much water from too little:
- Leaf Yellowing Pattern: Overwatering usually starts with uniform yellowing on older, lower leaves. Underwatering shows crispy brown edges and curling, often on newer leaves too.
- Stem and Petiole Feel: Overwatered stems can feel soft or mushy. Underwatered plants are floppy but not squishy; tissue rebounds after a good drink.
- Soil and Smell: Overwatered pots are consistently wet and heavy, often with a sour, swampy odor. Underwatered soil is bone-dry and may pull from the pot’s sides.
- Pot Weight: Lift test matters—overwatered equals heavier-than-expected for days; underwatered is light within a day or two.
- Root Color: Overwatered roots turn brown/black and mushy. Healthy roots are white to tan. Learn more about rot pathogens in root rot.
If you’re still unsure, gently probe 2–3 inches below the surface. Damp, cold soil points to overwatering; dust-dry crumbs suggest the opposite.
Step-by-Step Rescue Plan
- Prepare the station: Clean a workspace, gather shears, isopropyl alcohol, paper towels, and a breathable potting mix. Sanitation reduces pathogen spread.
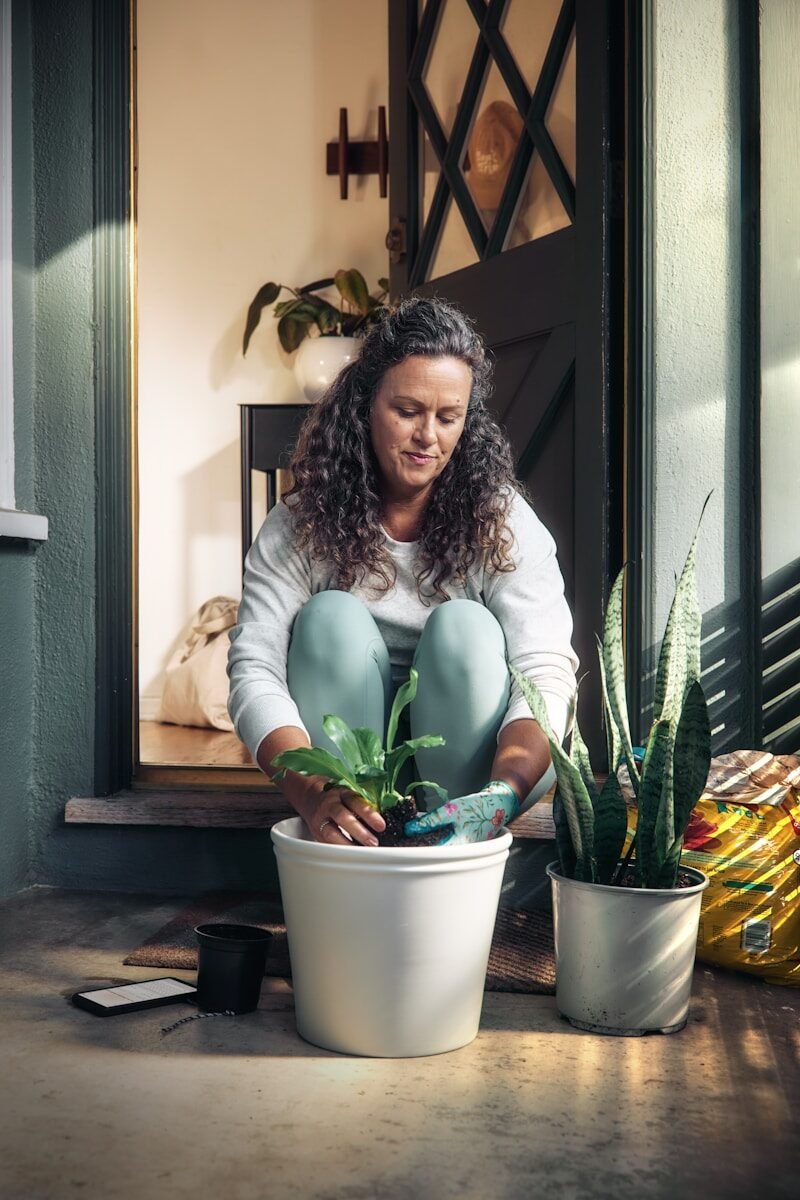
- Unpot safely: Support the base and slide the root ball out. Tease away sodden soil with your fingers rather than ripping roots.
- Inspect roots: Identify firm, pale roots vs. mushy brown/black strands. Trace rot back to healthy junctions.
- Sterilize and trim: Wipe shears with alcohol between cuts. Remove all compromised tissue until you see firm, light interiors.
- Optional dusting: Lightly dust cuts with cinnamon (a mild antifungal) or a labeled houseplant fungicide. Use products according to instructions.
- Gentle rinse: Briefly rinse roots in lukewarm water to clear debris. Do not soak; excess water deprives oxygen.
- Air rest: Let roots rest on a clean towel for 20–30 minutes to allow cut ends to dry slightly before potting.
Work quickly yet carefully. The priority is removing rot and restoring oxygen, not scrubbing roots harshly. For prevention science and watering principles, see the University of Minnesota Extension.
The Perfect Repot
Roots need air as much as water. Choose a container that prioritizes drainage and a mix that won’t compact.
- Pot size: Go 1–2 inches wider than the trimmed root mass—oversizing invites soggy pockets.
- Drainage: Ensure at least one large hole. Terracotta can help wick moisture.
- Aerated aroid mix (by volume): 40% orchid bark, 30% perlite, 25% coco coir, 5% horticultural charcoal (optional). This balance holds moisture without smothering roots.
- Setup: Place a thin layer of mix, center the plant, backfill gently, and tap the pot to settle. Do not compact.
- Support: Add a moss pole or stake if stems sprawl; it stabilizes growth during recovery.
For species background and growth habit insights, review Monstera deliciosa at Missouri Botanical Garden.
Drying and Aftercare
Right after potting, stability is key. The goal is to avoid re-saturating cuts while preventing wilt.
- First watering: Lightly moisten the mix to settle it, then wait 3–5 days before the next light watering. Keep soil barely moist, never soaked.
- Light: Provide bright, indirect light. Avoid harsh midday sun until vigor returns.
- Airflow: Gentle circulation (a fan on low) discourages fungal growth and speeds surface drying.
- Humidity: Target 50–60%. Ultra-high humidity without airflow can prolong wetness.
- Fertilizer: Pause 4–6 weeks. Feed only once you see active growth, using a diluted, balanced formula.
Monitor daily for leaf turgor and soil moisture below the surface. Your plant will prioritize root rebuilding before pushing leaves.
Recovery Timeline
- Week 0–1: Wilting slows; no new yellowing beyond pre-existing damage. Petioles feel firmer, soil dries predictably.
- Week 2–3: Subtle signs of rebound—tighter petioles, slight upward leaf angle, new aerial root nubs. You may prune spent yellow leaves.
- Week 4–6: Noticeable growth returns—new leaf or two, healthy green roots visible at drainage holes, better watering rhythm.
Healthy new growth is glossy, evenly green, and firm. Imperfections on older leaves will not reverse; focus on what emerges next.
Long-Term Prevention
- Watering technique: Water thoroughly only when the top 2–3 inches are dry. Pour slowly around the pot, then drain the saucer fully.
- Seasonal frequency: Growth slows in fall/winter; expect longer dry times. In spring/summer, check more often but still wait for dryness cues.
- Saucer management: Never let the pot sit in runoff. Empty within 10–15 minutes.
- Soil upkeep: Refresh or top-dress bark and perlite yearly to maintain structure.
- Read your plant: Learn its baseline—leaf posture by afternoon, pot weight after watering, and how fast the mix dries under your light.
For deeper watering fundamentals and plant health best practices, consult University of Minnesota Extension.
Optional Tools That Help (Without Hurting)
- Moisture meters: Useful but imperfect. Calibrate with your finger check and pot weight. In chunky mixes, probes can misread air pockets.
- Lift test: The most reliable habit. Learn the pot’s weight right after watering vs. when it’s time to water again.
- Calendar reminders: Use as a check cue, not a watering order. Conditions change weekly.
- Hygrometer: Helps keep humidity near 50–60% without going swampy.
Tools enhance judgment; they don’t replace it. Prioritize observation and consistent technique.
Want a concise blueprint for watering fundamentals, soil choices, and root-rot prevention? Explore Plant Care Tips. You’ll find practical guidance on building breathable mixes, dialing in frequency, and troubleshooting moisture issues before they become emergencies.
This resource complements the steps in this guide on how to revive an overwatered Monstera, giving you an easy reference you can come back to every season.
Conclusion
You can save your Monstera. Stay patient, follow each step, and focus on oxygen, sanitation, and steady aftercare. Track progress week by week rather than day by day.
Bookmark this guide and consider keeping Plant Care Tips handy for ongoing support. Small, consistent improvements prevent overwatering from returning.
FAQ
Should I cut yellow leaves now or later?
Remove leaves that are more than ~50% yellow or fully spent. If a leaf is only slightly yellow and still photosynthesizing, you can wait a week or two until the plant stabilizes.
Can hydrogen peroxide help root rot?
A diluted rinse (e.g., 3% H2O2 mixed at 1:3 with water) can temporarily boost oxygen and reduce surface microbes, but it’s not a cure. Mechanical removal of rot and a breathable mix are the real fixes. Avoid repeated use, which may irritate tissues.
How long should I bottom-water after repotting?
Avoid routine bottom-watering right after a rot event. Use a light top-water to settle the mix, then wait until the top 2–3 inches are dry before watering again. Bottom-watering can be reintroduced later if you ensure full drainage and avoid constant wetness.
What if petioles are drooping?
Right after trimming roots, mild droop can occur. Confirm the mix is only lightly moist, provide bright indirect light and airflow, and give it a few days. Persistent droop with mushy stems indicates lingering rot—re-check roots.
Can I propagate healthy sections while the mother plant recovers?
Yes, if you have clean nodes with healthy aerial roots. Take cuttings with sterilized shears and root them in water or a chunky mix. This hedges your bets while the main plant rebuilds.
For additional background on soil structure and oxygen availability, see soil structure on Wikipedia.